A super easy way to keep up with your old pal Katy is to subscribe to my newsletter!
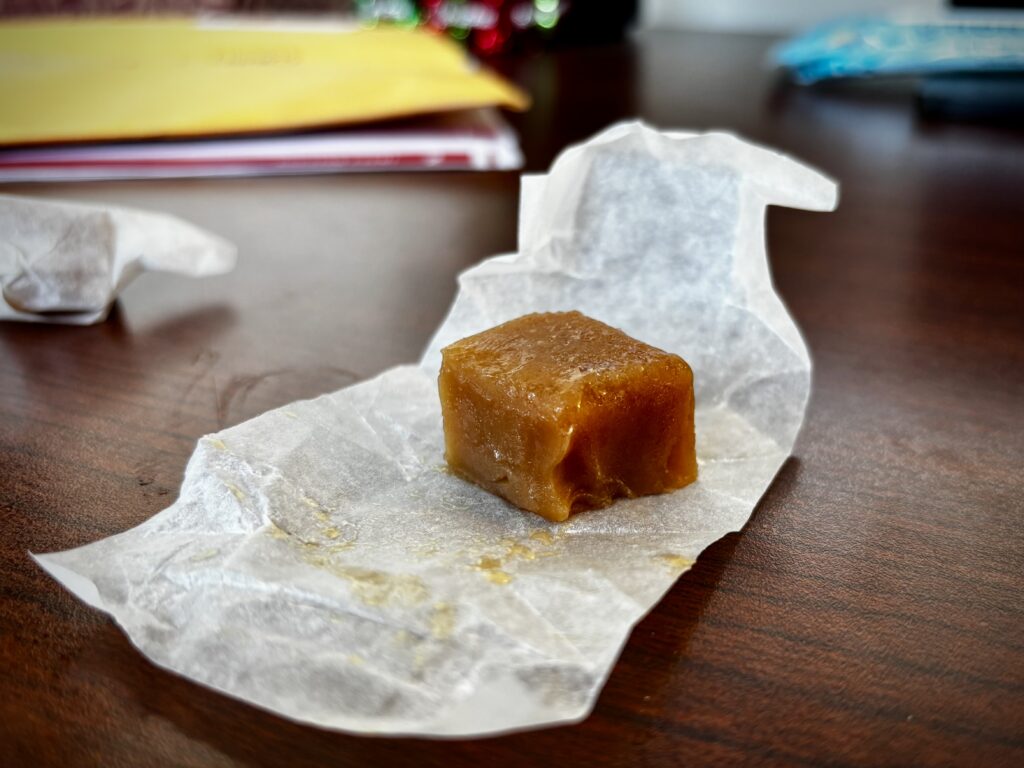
I make REALLY GOOD homemade salted caramels. I made a batch for my Seattle family and friends a couple of weeks ago, and I just found two extras hiding in the bottom of my purse! I am inordinately excited by this find and it was a delicious afternoon treat today.
Here’s the recipe, if you want to give it a try. I usually make a half batch because this recipe makes a LOT, and also the cooking goes a little bit faster if you make a half batch instead of a full batch.
Changes I made to the recipe as written:
- I grease my pan, then line it with a parchment paper sling, and then grease the parchment. This helps you lift out the caramel slab to cut it, so you don’t have to smack the pan on the counter and risk shattering your candy.
- I typically use salted butter instead of unsalted — I like my caramels just a bit saltier than normal.
- If you wait a full 30 minutes to put the flaky sea salt on at the end, you may find that the caramel has hardened up enough to where it won’t stick. This may depend on the ambient temperature of your kitchen, so I’d recommend checking how the surface feels at 15 minutes and adding the flake salt at that point if it’s getting firm.
- I wrap them in parchment squares that I’ve cut in half. I tried rolling them up and twisting the ends, but they tended to tear. So instead I use the gift-wrap method of pushing in at the side until you get two flaps, then folding the flaps over. You know, like you’re wrapping a present.
They’re pretty easy to make, but you do have to commit to standing at the stove for a couple of hours, stirring constantly and checking the temperature. So you’d better really like who you’re making them for! You can do what I did and drag a stool over to the stove and bring a good book.